I'm continuing my thread
My High ISO Evaluation, but I'm now posting here because I've come up with my own High ISO fix just using Photoshop.
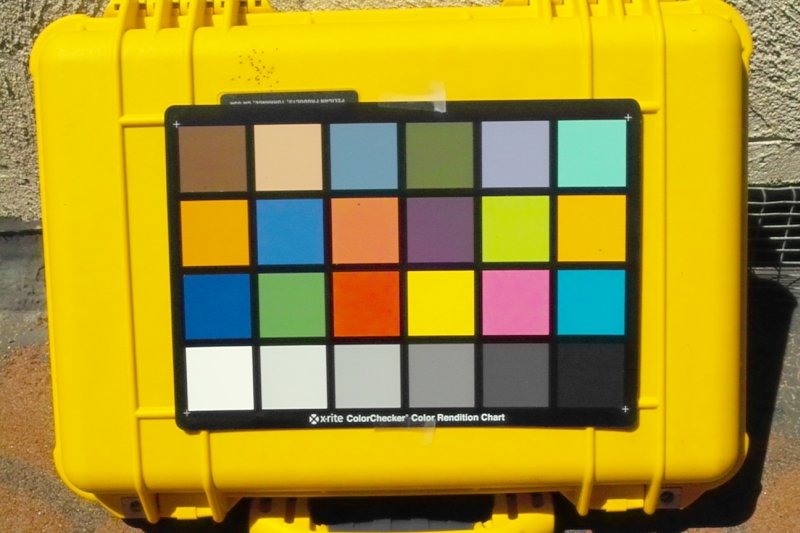
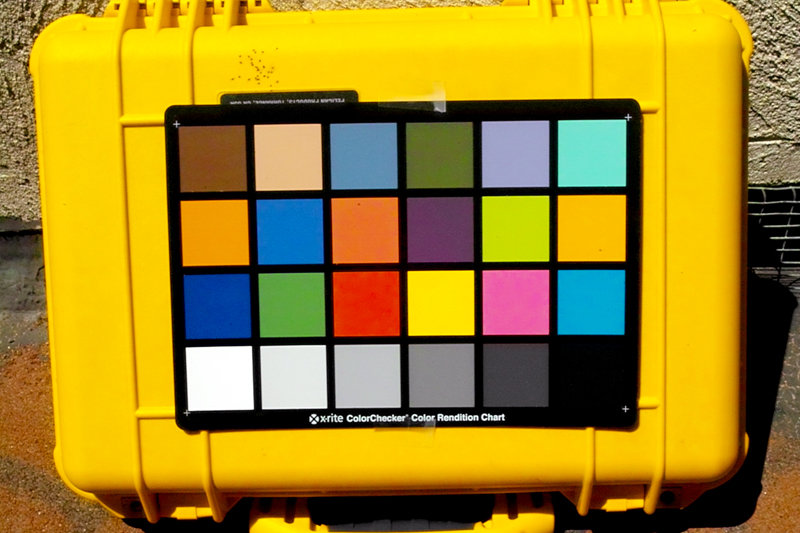
A nice use of the X-Rite ColorChecker is to create and save image manipulations so that they can be applied at a later time to other photos. It's also very easy to make adjustments and see how things turn out.
Here is my original ColorChecker photo shot at ISO 1600:
View attachment 1555
and here is the version where I have been able to correct for the failings of ISO 1600:
View attachment 1556
Interestingly, this was achieved with only a single level adjustment layer where I simple set the White, Black, and Grey points to the ColorCheckers White, Black, and Neutral .5 Grey squares. These are the squares in the bottom row Left, Right, and Center Right respectively.
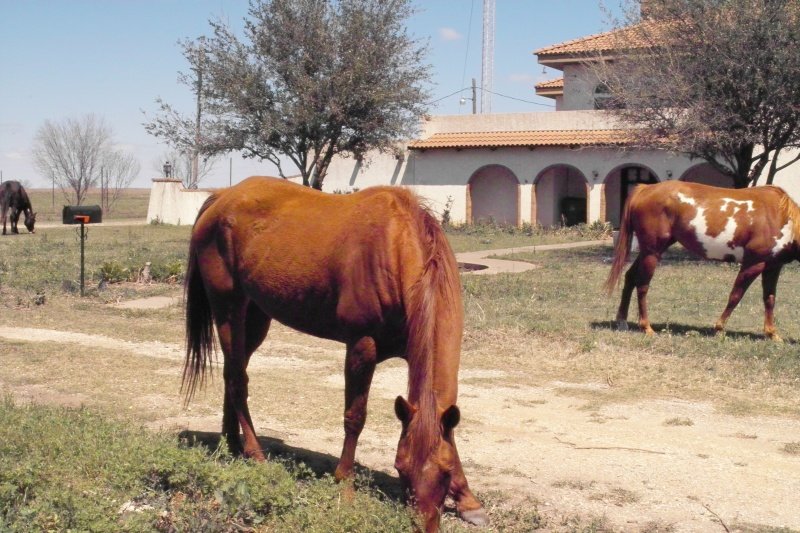
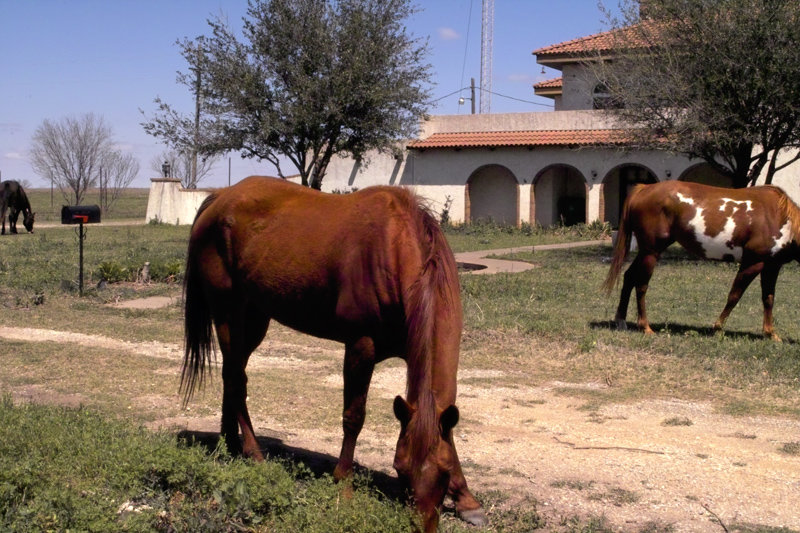
I applied this to my ISO 1600 Horse photo, the original:
View attachment 1558
and fixed. In this case, the level adjustment was too severe, so I reduced the Opacity to about 80%:
View attachment 1559
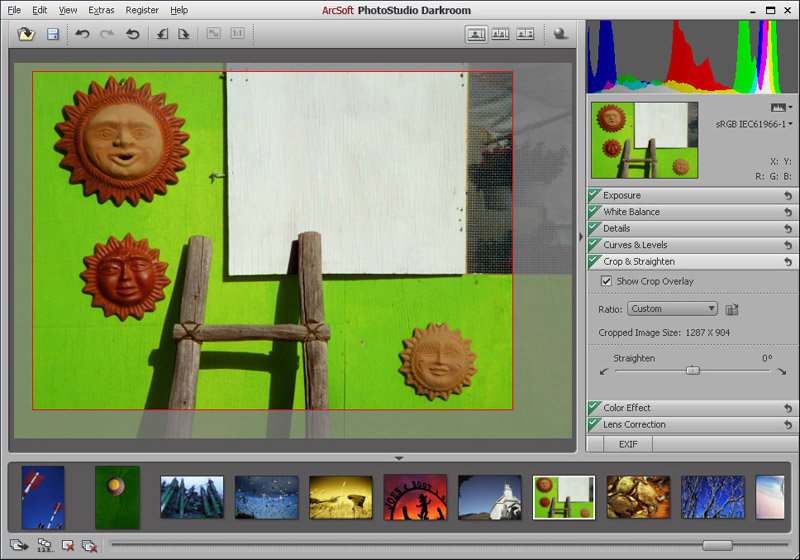
If anyone wants to play with this fix, here is a Zip archive containing the level adjustment:
View attachment 1557
In Photoshop, open a Daylight White balanced ISO 1600 image, create a level adjustment layer and instead of playing with the histogram, click on Load and open the file extracted from this Zip. As I had to do with my image, adjust the level adjustment layer's opacity to get the right effect needed.
")